
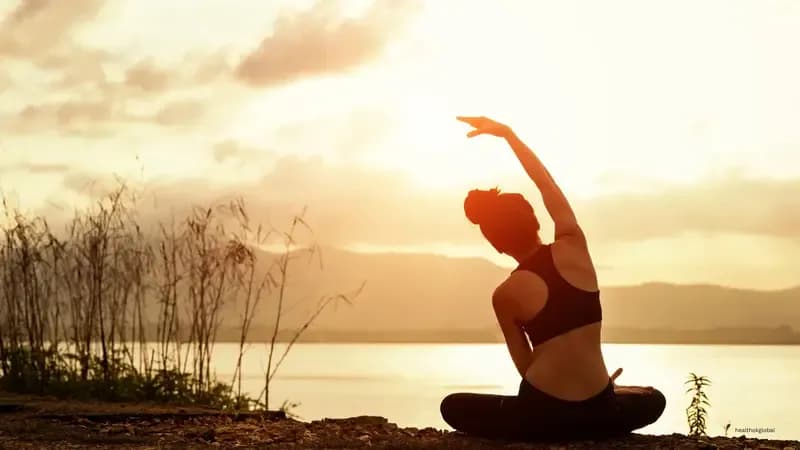
Introduction
Sarvangasana, also known as the Shoulder Stand, is a powerful yoga posture that promotes overall health and well-being. This inversion pose is often referred to as the 'Queen of Asanas' due to its extensive health benefits. Practicing Sarvangasana regularly can improve circulation, strengthen the muscles, and enhance mental clarity. This blog explores the benefits, step-by-step guide, and tips for mastering Sarvangasana.
Benefits of Sarvangasana
Sarvangasana offers a range of physical and mental benefits. Some of the key benefits include:
The Shoulder Stand helps improve blood circulation by reversing the flow of blood, which can enhance oxygen delivery to the brain and other organs.
Improves Circulation
This pose strengthens the shoulders, arms, and core muscles, providing a full-body workout.
Strengthens the Muscles
Sarvangasana calms the mind, reduces stress, and promotes mental clarity and focus.
Enhances Mental Clarity
The inversion stimulates the thyroid gland, which can help regulate metabolism and hormone levels.
Supports Thyroid Health
This pose stimulates the digestive organs, promoting better digestion and metabolism.
Improves Digestion
By improving circulation, Sarvangasana can help reduce the discomfort associated with varicose veins.
Relieves Varicose Veins
The pose encourages relaxation and reduces tension in the body, promoting overall well-being.
Promotes Relaxation
Sarvangasana helps balance the body's energy levels, promoting a sense of harmony and well-being.
Balances Energy Levels
Step-by-Step Guide to Sarvangasana
To perform Sarvangasana, follow these steps carefully:
Lie flat on your back with your arms resting by your sides and your legs extended.
Step 1: Preparation
Slowly lift your legs off the ground, keeping them straight and together.
Step 2: Lift the Legs
Place your hands on your lower back for support as you lift your hips and lower back off the ground.
Step 3: Support the Lower Back
Continue lifting until your body is in a straight line from your shoulders to your toes.
Step 4: Straighten the Body
Hold the pose for 15-30 seconds while breathing deeply.
Step 5: Hold the Pose
Slowly lower your back and legs to the ground, returning to the starting position.
Step 6: Release
Tips for Mastering Sarvangasana
Mastering Sarvangasana requires practice and patience. Here are some tips to help you improve:
Always warm up with gentle stretches before attempting Sarvangasana to prevent injury.
Warm-Up
If you find it challenging to hold the pose, use a folded blanket under your shoulders for added support.
Use Props
Maintain steady and deep breaths throughout the pose to stay relaxed and focused.
Focus on Breathing
Engage your core muscles to support your lower back and maintain stability.
Engage Your Core
Incorporate Sarvangasana into your regular yoga practice to build strength and flexibility over time.
Practice Regularly
Never push yourself too hard. Listen to your body and modify the pose as needed to avoid injury.
Listen to Your Body
Common Mistakes to Avoid
Avoid these common mistakes to ensure safe and effective practice:
Keep your body in a straight line and avoid arching your back during the pose.
Arching the Back
Keep your breath steady and avoid holding your breath during the pose.
Holding Your Breath
Don't force your body into the pose. Ease into it gradually and respect your limits.
Forcing the Pose
Always warm up properly before attempting Sarvangasana to prevent muscle strain.
Neglecting the Warm-Up
Modifications and Variations
To make Sarvangasana accessible to all levels, consider these modifications and variations:
Use a yoga block or bolster under your shoulders for added support.
Supported Shoulder Stand
Perform the pose with your legs bent at the knees for a gentler variation.
Half Shoulder Stand
For a deeper stretch, bring your legs parallel to the floor and hold the pose for a longer duration.
Advanced Shoulder Stand
Precautions and Contraindications
While Sarvangasana is beneficial, it may not be suitable for everyone. Take the following precautions:
If you have a history of neck injuries, consult with a healthcare professional before attempting this pose.
Avoid if You Have Neck Injuries
Those with back injuries should be cautious and modify the pose as needed.
Be Cautious with Back Issues
Pregnant women should avoid Sarvangasana due to the pressure it places on the abdomen.
Pregnancy
Always listen to your body and avoid pushing yourself beyond your comfort level.
Listen to Your Body
Conclusion
Sarvangasana, or the Shoulder Stand, is a powerful yoga posture that offers numerous benefits for both the body and mind. By incorporating this pose into your regular yoga practice, you can improve circulation, strengthen your muscles, and enhance overall well-being. Remember to follow the steps carefully, listen to your body, and practice regularly to master Sarvangasana and enjoy its full range of benefits.





Comments (0)